Project management
À l'issue de ce chapitre
- create a project, from scratch or from a template;
- organise the work into tasks, sub-tasks and dependencies;
- set milestones for progress and track the time spent;
- invoice a service and measure its profitability.
The Project application organises work into tasks, tracks the time spent, marks progress with milestones and feeds the invoicing of services.
Configuring the application
The application has only two general settings.
- Open Project › Configuration › Settings.
- Tasks Management block: tick Project Stages to track the progress of the projects themselves, in addition to that of the tasks.
- Time Management block: tick Task Logs to record the hours spent on the tasks.
- Save.
Note
Recurring tasks, dependencies and milestones are not general options: they are set project by project, in the Settings tab of each one. An internal project can thus do without milestones where a customer engagement uses them.
Astuce
Do not confuse the two notions of stage. Task stages (To Do, In Progress, Done) always exist and structure the working kanban. Project Stages qualify the progress of the project as a whole, and only serve those managing a portfolio of engagements.
Creating a project
- Open the Project application and click on New.
- Fill in the name of the project.
- Open the project and complete: - the Project Manager; - the Planned Date, as a start and end range; - the Allocated Time, the envelope of hours planned for the project as a whole; - the Name of the Tasks, which replaces the word Tasks with the vocabulary of the trade : interventions, lots, episodes; - the Tags, to classify the project.
- Open the Settings tab and set what is specific to this project: - the Visibility, which governs the opening to the customer portal. Four levels: Invited internal users, Invited internal and portal users, All internal users, and the broadest (the one retained by default) All internal users and invited portal users; - the Email Alias, which creates a task from an email received; - in Tasks Management: Recurring Tasks, Task Dependencies, Milestones; - in Sales & Invoicing: Billable, which allows time and materials to be reinvoiced, the box is also offered in the project creation window; - in Time Management: Timesheets, to encode the hours on the tasks.
- Save.
Note
These settings are not global: each project carries its own. An internal project does without invoicing and milestones where a customer engagement uses both, without one getting in the way of the other.
Astuce
The Allocated Time is what gives timesheet tracking its meaning: with no reference envelope, the hours pile up without anyone knowing whether they are within budget. Fill it in from the creation, even if it has to be corrected afterwards.
Starting from a template
When projects resemble one another (a standard installation, a recurring service) a template saves rebuilding the task tree every time.
- Create a representative project: stages, standard tasks, durations, assignments.
- Open the project, then the Actions menu and Convert to Template. The action is reserved for project managers and is only offered from the record, not from the list.
- To find the templates again, apply the Templates filter in the list of projects.
- To launch a new engagement, create a project from the template: the task structure is reproduced, ready to be adapted to the customer.
Astuce
A well-designed template carries the method of the company. It does more for the consistency of deliveries than a written procedure nobody rereads.
Structuring the work
Stages
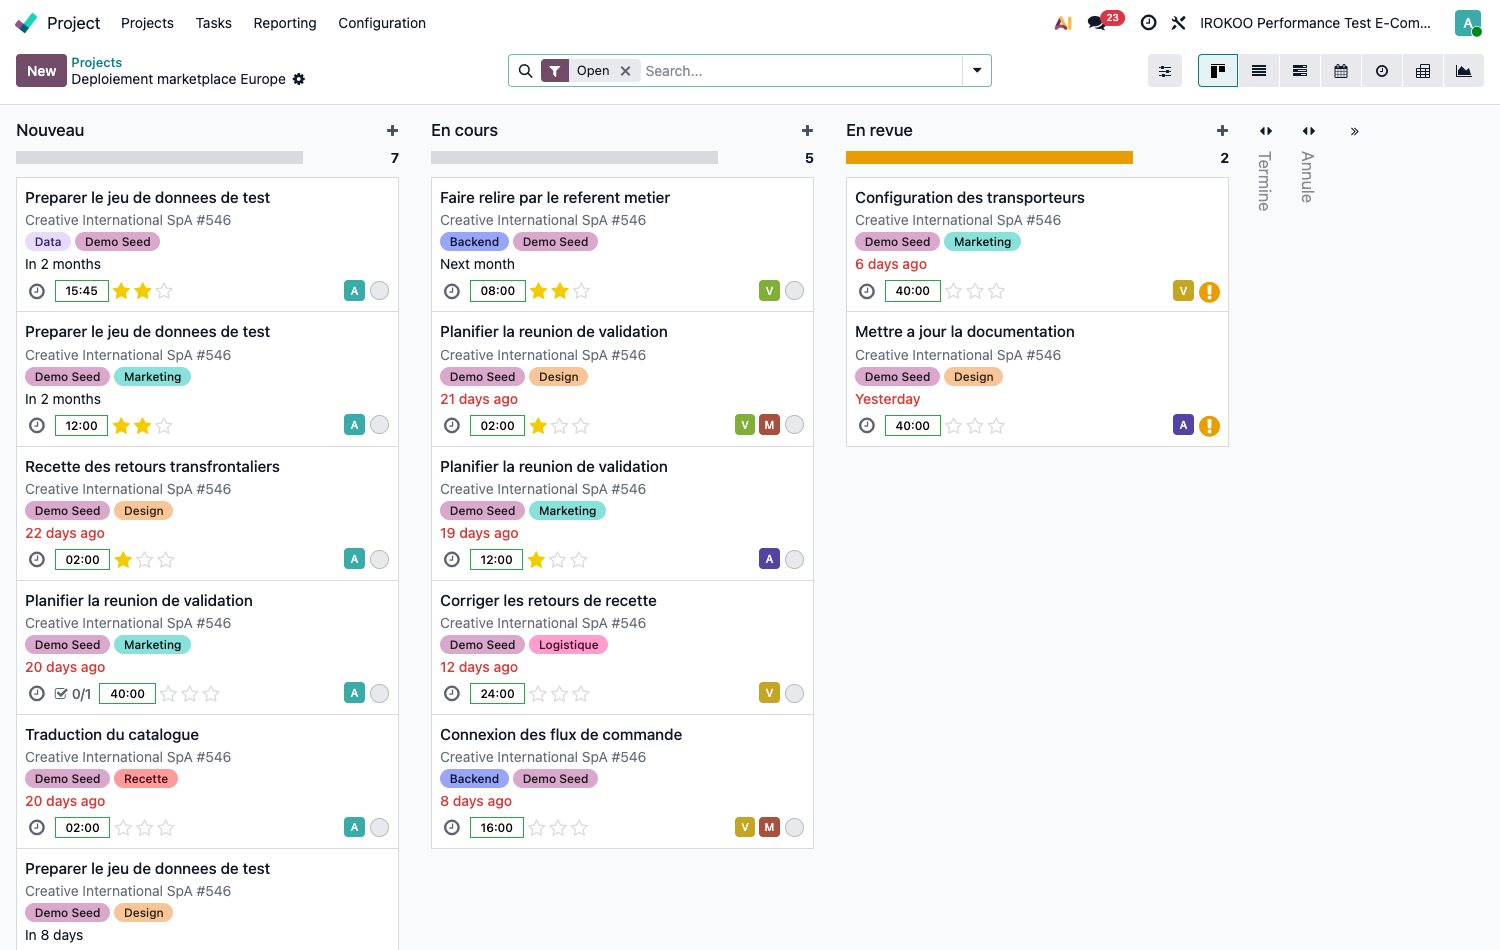
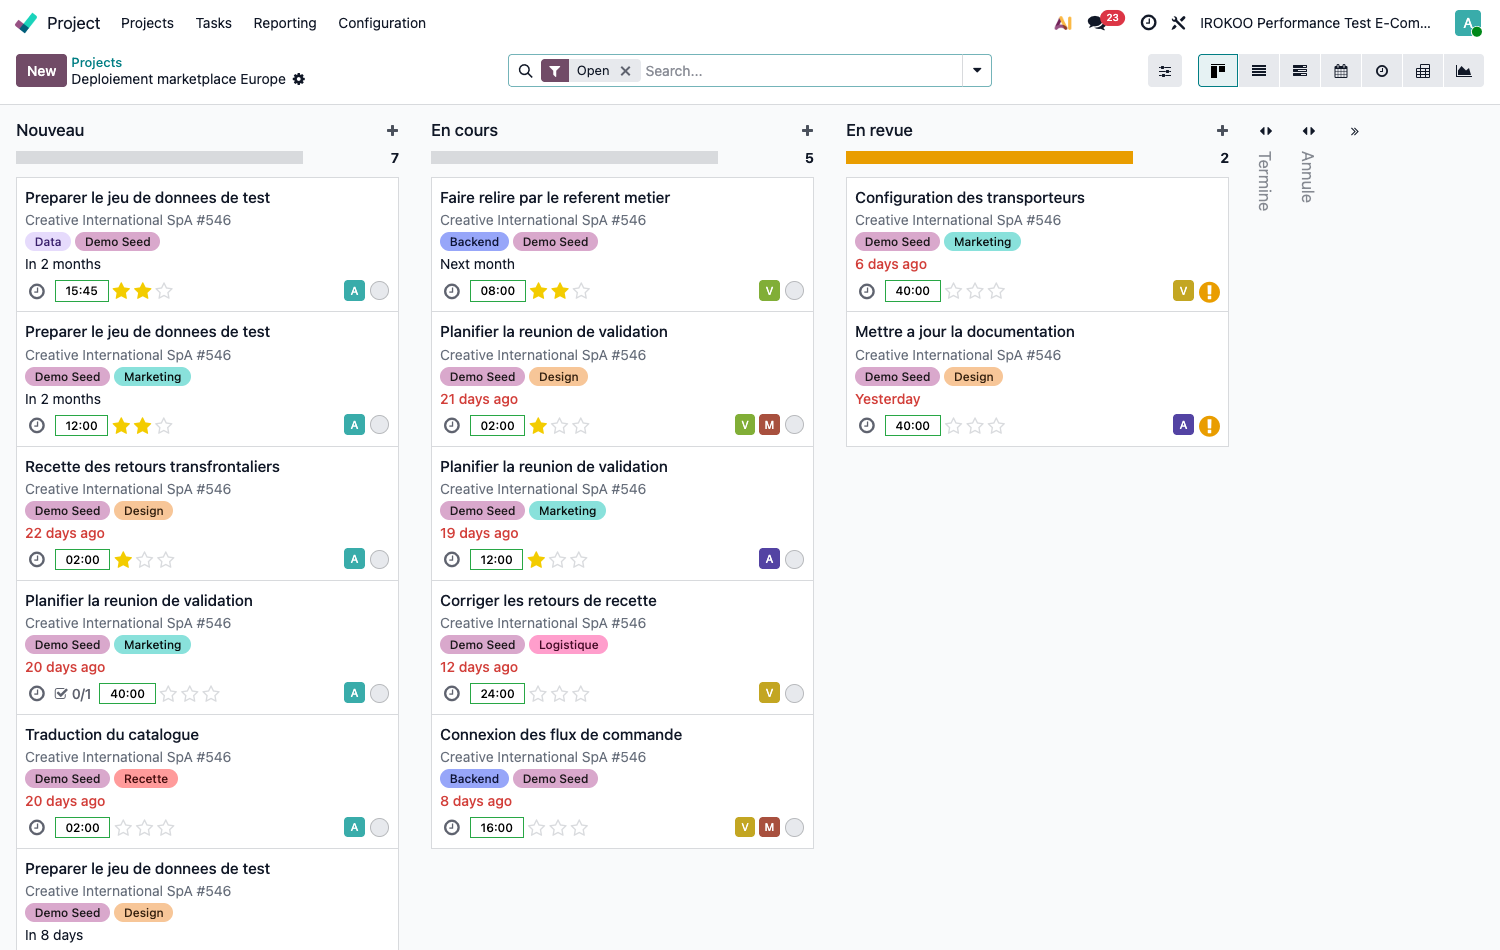
- Open the project in kanban view.
- Create the columns matching your method: to do, in progress, in review, done.
- Set for each stage its sequence, its colour, and the closing automations.
Tasks
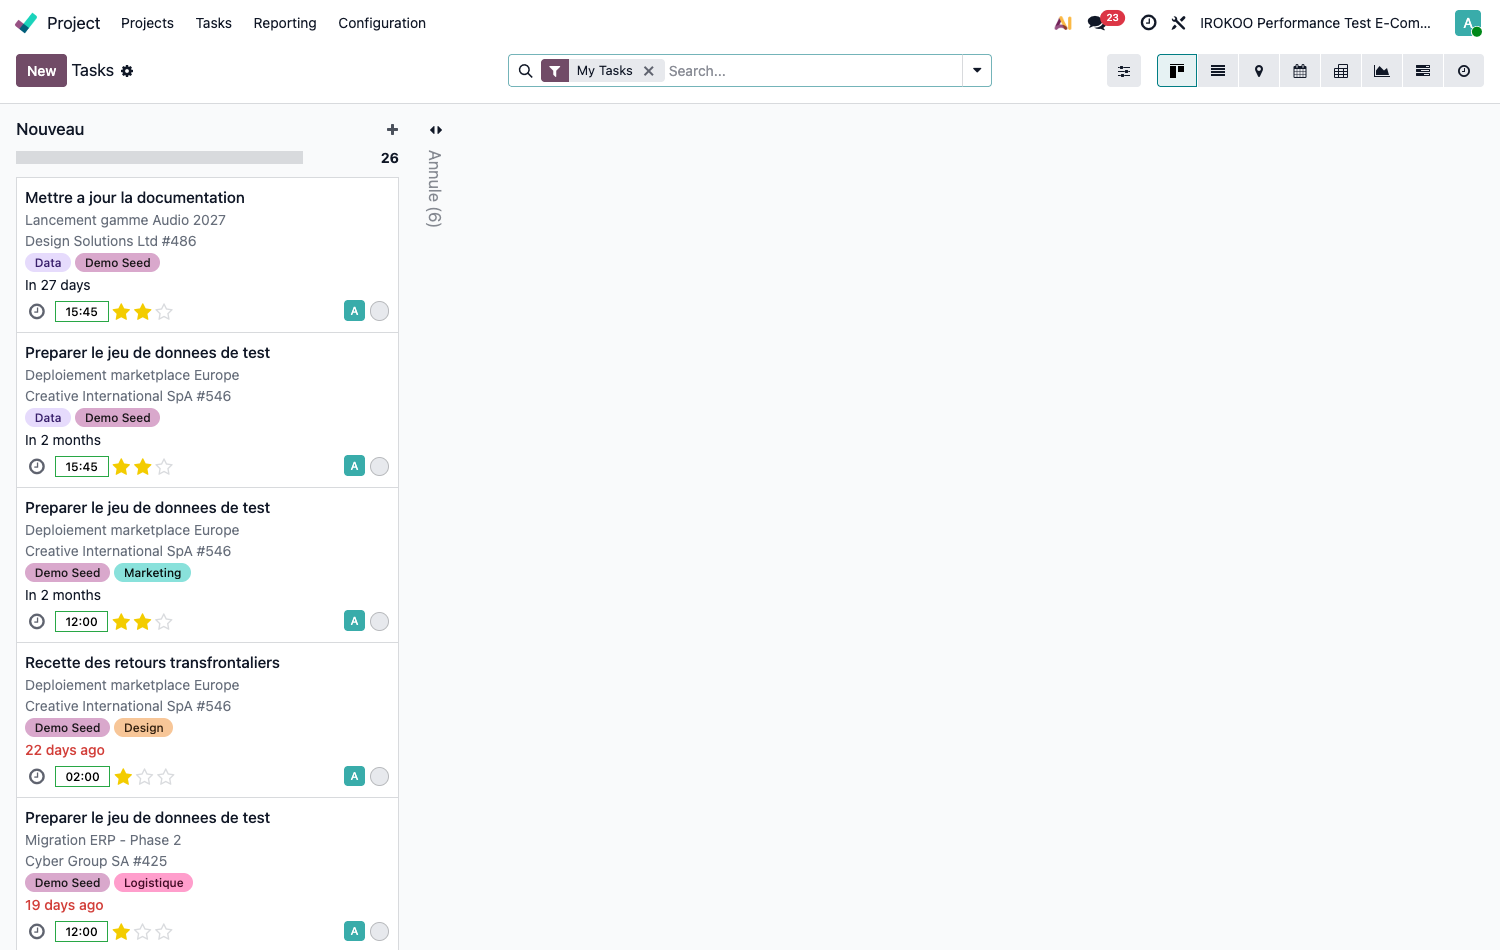
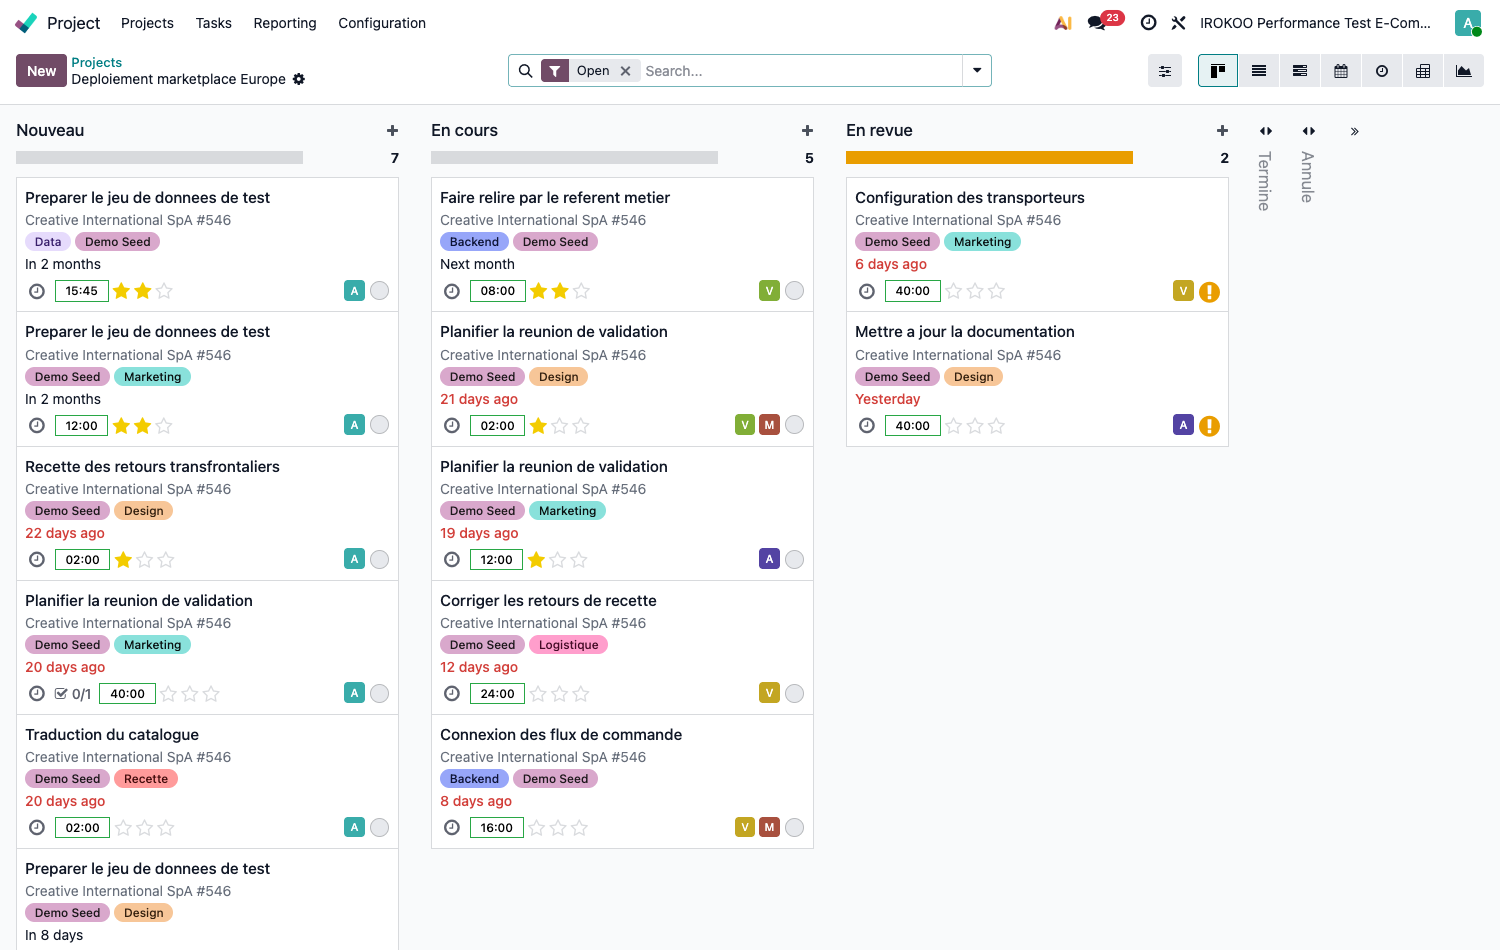
- From the project, click on New.
- Fill in the title, the description, the Assignees, the deadline and the priority.
- Add Tags to group tasks by theme independently of their stage.
- Fill in the allocated time if the workload is tracked.
- Save.
Sub-tasks and dependencies
- Sub-tasks break down a complex piece of work while keeping the attachment to the parent task, whose progress is consolidated.
- Task Dependencies declare that a task cannot start before another is completed. They are ticked in the Settings tab of the project, Tasks Management block. The dependencies are then displayed in the Gantt view and flag knock-on delays.
Note
The Gantt view belongs to the Enterprise edition. It makes the critical path visible, and the effect of a slippage on the whole schedule.
Setting milestones
Milestones give substance to the contractual stages of a project: sign-off of a specification, acceptance of a lot, going live.
Point d'attention
Milestones are activated project by project. Open the project, Settings tab, Tasks Management block, and tick Milestones. As long as the box is unticked, the button described below does not appear.
They do not figure on the project form but in its Dashboard, reachable through the smart button of the same name.
- Open the project and click on Dashboard.
- In the right-hand side panel, find the Milestones section.
- Click on Add Milestones and fill in the title and the Deadline.
- Attach to the milestones the tasks that condition their achievement, through the Milestone field of each task.
- Click on the milestone to toggle it between Mark as reached and Mark as incomplete.
Note
The same panel carries other sections depending on what is activated on the project: the progress of the Tasks, the Timesheets consumed, the Burndown Chart, and the Profitability when the project is billable.
Milestones and profitability read together: a milestone reached without the corresponding instalment being invoiced can be seen at a glance.
Astuce
The central part of the dashboard hosts the project updates: a progress note written periodically, to be shared with the customer or with management. It is the natural medium for a steering committee, it keeps the history of the successive reviews, where an email gets lost.
On a project billable by milestone, reaching a milestone triggers the invoicing of the corresponding instalment.
Astuce
A milestone is worded as a verifiable result, not as an activity: "functional acceptance signed" rather than "testing phase". The difference is measured at the moment when it has to be decided whether the milestone has been reached.
Tracking time
Recording the hours
Two modes coexist:
- As you go: on the task, start the counter at the beginning of the work and stop it at the end.
- After the fact: enter the hours in the Timesheets application, by day or by week.
Validating
The manager checks and validates the timesheets of their team. The validated hours feed the profitability analysis and, where applicable, the invoicing.
Point d'attention
Timesheets are only usable if they are entered regularly. An entry reconstructed at the end of the month produces invoicing data that can be contested and a profitability analysis with no value.
Invoicing services
Four invoicing modes are available:
| Mode | Principle |
|---|---|
| Prepaid/Fixed Price | A fixed amount is invoiced, whatever the time consumed. |
| Based on Timesheets | The hours encoded are carried onto the invoice. |
| Based on Milestones | Each milestone reached triggers the invoicing of its instalment. |
| Based on Delivered Quantity (Manual) | The quantity to invoice is entered by hand. |
Point d'attention
This mode is set neither on the project nor on the task, contrary to what one might expect: it is carried by the service product sold, in its Invoicing Policy field. It therefore follows from the order line that feeds the project. Two services invoiced differently call for two distinct service products.
Collaborating
Internally
- The chatter of each task keeps the exchanges and the decisions.
- Activities schedule the follow-ups and the checkpoints.
- Useful documents are attached directly to the task.
With the customer
- Activate portal access on the project.
- Grant access to the customer contact (see chapitre 5).
The customer then consults progress, comments on the shared tasks and signs off the deliverables, without consuming a user licence.
Note
Visibility is set project by project and task by task. Check what is actually exposed before opening access: internal notes stay private, messages do not.
Steering
Dashboards
The project displays a summary dashboard: progress, time consumed against time allocated, costs committed, profitability for billable projects.
Analyses
The reporting menu allows the data to be broken down by customer, by project type, by manager or by period, and planned hours to be compared with actual hours.
Astuce
On fixed-price projects, systematically compare the time consumed with the amount sold, project by project. It is that comparison, and not overall turnover, that shows whether the fixed prices are correctly calibrated.
Adapting the method
Sequential approach
Structure the project in phases, set milestones between each phase, declare the dependencies, and follow the schedule in Gantt view.
Iterative approach
Configure the stages as flow columns (to do, in progress, in review, done) use the tags to mark the work batches, and run the daily stand-ups from the kanban view.
How it fits with the other applications
- Sales: an order for a service can automatically create the project and its tasks.
- CRM: an opportunity won gives rise to the implementation project.
- Timesheets: feed the costs and the invoicing.
- Accounting: costs and revenues are allocated to the analytic account of the project.
- Purchase: purchases assigned to the project enter into its cost.